DIY Maternity Photos
I'd like to think my husband and I have found a decent balance between being frugal and occasionally indulging in the finer things in life. We manage to have a good time without spending excessive amounts of money...most days. However, sometimes we just can't bring ourselves to shell out hundreds of dollars for something we know think we can do ourselves. Sometimes it ends in disaster, and we end up shaking our heads and laughing at our DIY aspirations, other times it turns out okay.


Enter our DIY maternity shoot. We were pretty terrible at tracking the growth of my belly each week throughout my pregnancy. Usually because by the time my husband got home from work I was in pajamas with my hair piled on top of my head, in no mood for a photo shoot. A few weeks before my due date we had a false alarm. When we got home from the hospital that night my husband and I agreed we should probably take a few pictures of my pregnant belly before it was too late. So, I did what I always do when I want something to look professional but cost me little to no money. I got on Pinterest.
Want to do your own maternity shoot? Here's how:
1. Find inspiration. I wanted comfortable, simple, sweet. Some women want sexy. It's you're bump, do what you want with it! My inspiration came from several photographers, including this one, this one, and this one.
2. Find someone to take the photos for you. I would suggest baby's daddy or a close friend. If you can't find anyone or don't feel comfortable with others taking the photos, you could always invest in a tripod and remote and set your camera's timer. My husband offered to be my photographer, which meant he couldn't be in any of the pictures. Kind of a bummer, but we already had a couple of pictures with the two of us. This was more about capturing me and Baby R. together one last time before he made his way into the world.
3. Decide when and where you will shoot your pictures. We took our photos at 37 1/2 weeks. I wouldn't necessarily suggest waiting that long, but it worked out well for us. We had originally planned to shoot at a park but the weather wasn't great and I liked the intimacy of shooting at home in the nursery and around the house. If you're shooting at home, make sure to do a quick cleaning beforehand!
4. Make a list of shots you want to get. This doesn't have to be detailed, just something to keep you on track. I knew I wanted a silhouette shot in front of a window, one in our grey upholstered chair, one reading a book in the nursery, and one playing a song for Baby R. on my parlor grand. Having ideas kept us from wasting time going "Um...what now?"
5. Snap away! Get yourself all dolled up and have a little fun with your photo shoot. My husband and I had a great time goofing off and it made me feel sexy...even at almost 38 weeks pregnant!
6. Pick your favorites and edit them if you'd like a more professional look. We don't have a fancy DSLR camera or anything like that, so I wasn't sure how they would turn out. We do have a nice point and shoot Nikon Coolpix P520. I'll let you decide for yourself, but we were pretty happy with the end result! I used Gimp, a free photo editing software to edit the photos. There are also tons of easy and free online editing tools out there, PIXLR is probably my favorite. You can even use Instagram and just save them from there if you'd like. The options are endless!
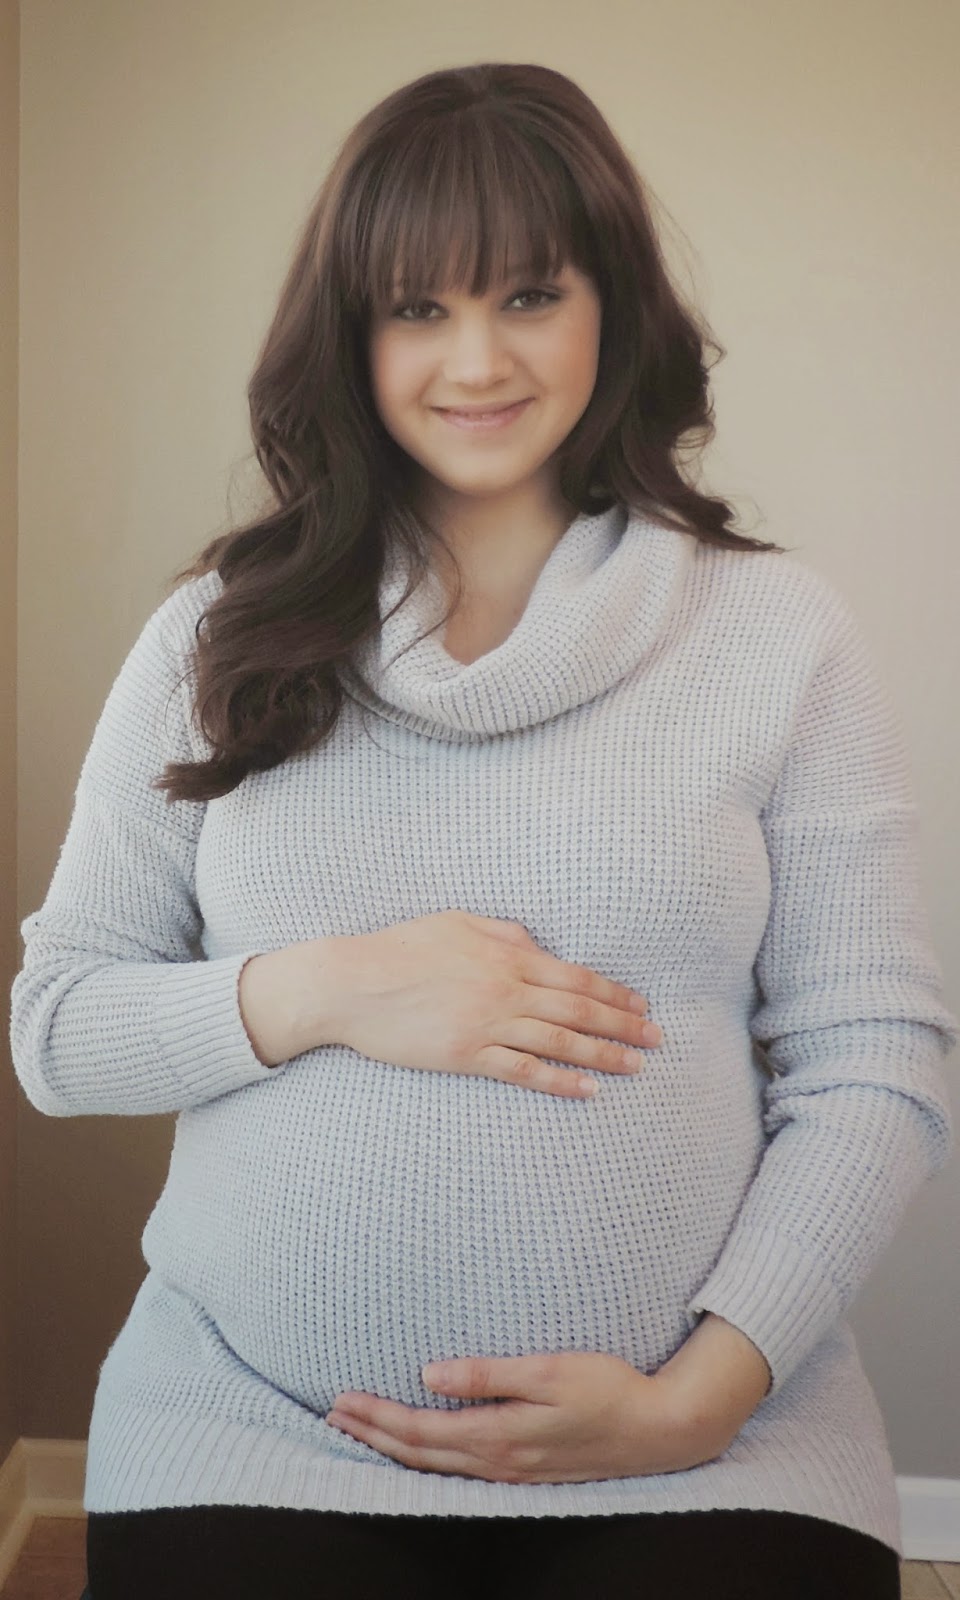
Without further ado, here are some of my favorites from our DIY maternity shoot:
Want to do your own maternity shoot? Here's how:
1. Find inspiration. I wanted comfortable, simple, sweet. Some women want sexy. It's you're bump, do what you want with it! My inspiration came from several photographers, including this one, this one, and this one.
2. Find someone to take the photos for you. I would suggest baby's daddy or a close friend. If you can't find anyone or don't feel comfortable with others taking the photos, you could always invest in a tripod and remote and set your camera's timer. My husband offered to be my photographer, which meant he couldn't be in any of the pictures. Kind of a bummer, but we already had a couple of pictures with the two of us. This was more about capturing me and Baby R. together one last time before he made his way into the world.
3. Decide when and where you will shoot your pictures. We took our photos at 37 1/2 weeks. I wouldn't necessarily suggest waiting that long, but it worked out well for us. We had originally planned to shoot at a park but the weather wasn't great and I liked the intimacy of shooting at home in the nursery and around the house. If you're shooting at home, make sure to do a quick cleaning beforehand!
4. Make a list of shots you want to get. This doesn't have to be detailed, just something to keep you on track. I knew I wanted a silhouette shot in front of a window, one in our grey upholstered chair, one reading a book in the nursery, and one playing a song for Baby R. on my parlor grand. Having ideas kept us from wasting time going "Um...what now?"
5. Snap away! Get yourself all dolled up and have a little fun with your photo shoot. My husband and I had a great time goofing off and it made me feel sexy...even at almost 38 weeks pregnant!
6. Pick your favorites and edit them if you'd like a more professional look. We don't have a fancy DSLR camera or anything like that, so I wasn't sure how they would turn out. We do have a nice point and shoot Nikon Coolpix P520. I'll let you decide for yourself, but we were pretty happy with the end result! I used Gimp, a free photo editing software to edit the photos. There are also tons of easy and free online editing tools out there, PIXLR is probably my favorite. You can even use Instagram and just save them from there if you'd like. The options are endless!
Without further ado, here are some of my favorites from our DIY maternity shoot:
Comments
Post a Comment